Tonight will be a fantasy come true!
No need to watch TV when this contains all sorts of fantasies.

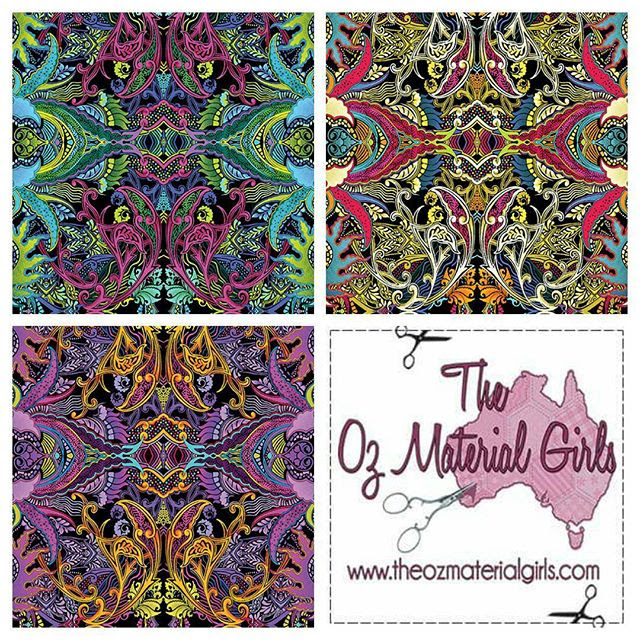
When the world is all cotton candy,rainbows, and unicorns then this delightful range "fantasy" from Makower Fabrics makes up the fabric of our lives!

See how easy it is to make fun bunting using this panel...

Click to download the How-To-Sew PDF
Regular price of Panel $16.95
NOW $14.36

We have all of these coordinating fabrics

Looking for a project on a larger scale?
What about this quilt kit?

Regular price $180.00
NOW $162.00
Finished size 62” x 77” (1.6m x 1.95m)
Designed by Lynne Goldsworth using theFantasy collection.
Quilt kit featuring Fantasy fabrics. Kit includes all fabric and the pattern to make the quilt top . If you would like us to match a backing just let us know. Please note the stripe used in binding has been replaced with a matching blender.